
It goes without saying that supply and demand are perhaps amongst the most important trading fundamentals.
In almost every aspect of our lives, when it comes to buying something, we are constantly looking for a bargain price. When it comes to selling, on the other hand, we’re always seeking an opportunity to make the most out of it by selling at the highest price.
When it comes to trading, however, it appears that this is not always the case. We are oftentimes pushed to buying when the price is high while selling when the price is low. More often than not, traders, especially those who don’t have enough experience, end up selling their shares or even cryptocurrencies at a knockdown price because it pains them to hold them any longer.
Professional traders, on the other hand, are always looking to buy at a wholesale price and to sell at a retail price. This applies to the cryptocurrency market as well. It is at this point that a transfer of funds tends to take place from novice accounts to professional ones. The point at which this takes place is commonly referred to as a supply or demand zone.
How to Notice a Supply or Demand Zones?
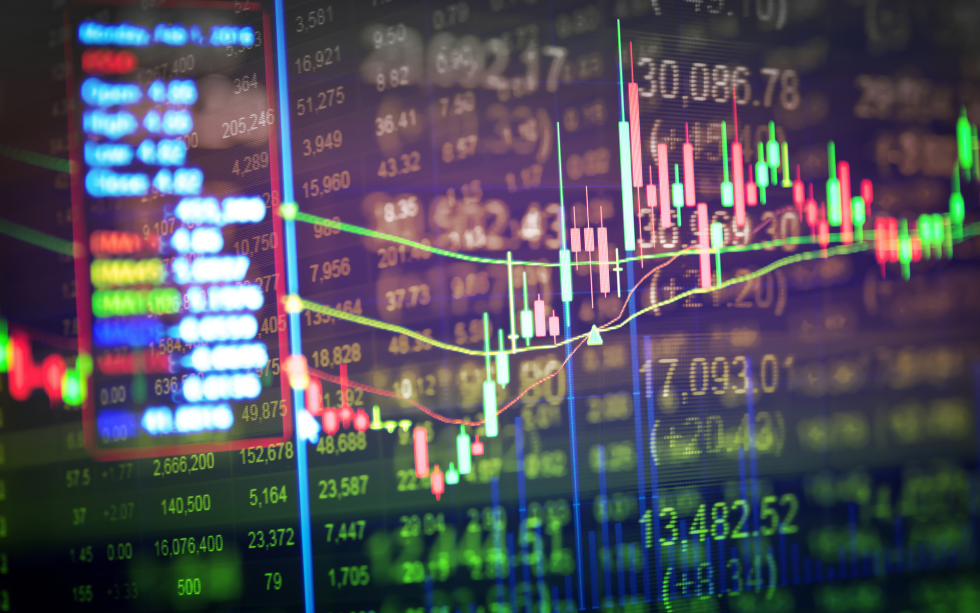
A supply or a demand zone can be identified only when the price starts to speed away from an area on the chart. If you’re using a trading platform such as Evolve.Markets, you will be able to properly observe price fluctuations because of their comprehensive charts and monitoring tools. Evolve.Markets gives traders access to high leverage cryptocurrency trading on Metatrader 5.
In any case, when this move takes place, it indicates that there has been a buying or selling interest at its origin. Once this takes place, it is important not to chase the move but rather to wait for the price to return to this zone so that we can either buy or sell at a wholesale price.
A notable characteristic of a demand zone is that it would often times also act as a broad area of support. While it is truly broader than a typical support line, it does bear similar qualities. Price usually tends to jump off that zone, going in an upwards direction.
Supply zones, on the other hand, tend to act in a similar way as resistance levels. Again, they are broader but the price tends to go downwards after reaching them.
So, naturally, by looking at a longer term chart, you might be able to identify which areas in the price action tend to see supply or demand and base your moves on that. You’d want to purchase when you’re at the demand zone and sell at the supply zone.
4 Rules to Follow
When it comes to supply and demand trading, there are a few important things to be considered. Hence, here are four of the main principles to follow.
Moderate Volatility
A supply zone typically tends to show narrow price behavior. Lots of candle wicks, as well as strong back and forth action often tends to cancel a supply zone for future trades. The narrower the zone before a strong breakout is, the better the chances are for a good reaction next time.
Time Your Exits
As a general rule of thumb, you don’t want to see the price spending too much time at a supply zone. Good supply zones, as we said above, tend to be narrower and they don’t hold for too long. A shorter zone of accumulation works better for finding your re-entries during pullbacks which are aimed at picking up the open interest.
The Spring
Coined by Richard D. Wyckoff, the “Spring” pattern describes a price movement which is into the opposite direction of the following breakout. It looks like a false breakout after the fact, but when it happens it tends to trap traders into following the wrong direction.
Freshness
Keep in mind that each time the price revisits a supply zone, more and more orders which haven’t been filled previously are filled. Therefore, the level is continuously weakened. Hence, it’s better to make sure that the zone is fresh, meaning that the price hasn’t come back to it yet after the initial creation of the zone.
In any case, these are just a few of the rules that you might want to be following.
Disclaimer: This article is not investment advice and should not be construed as such. It is for educational purposes only. Bitcoinist is not responsible for any investment decisions made by readers of the website. Always consult a trained financial professional before making any investment decisions and be prepared to lose your entire investment.